Kid’s Drawstring Backpack Tutorial
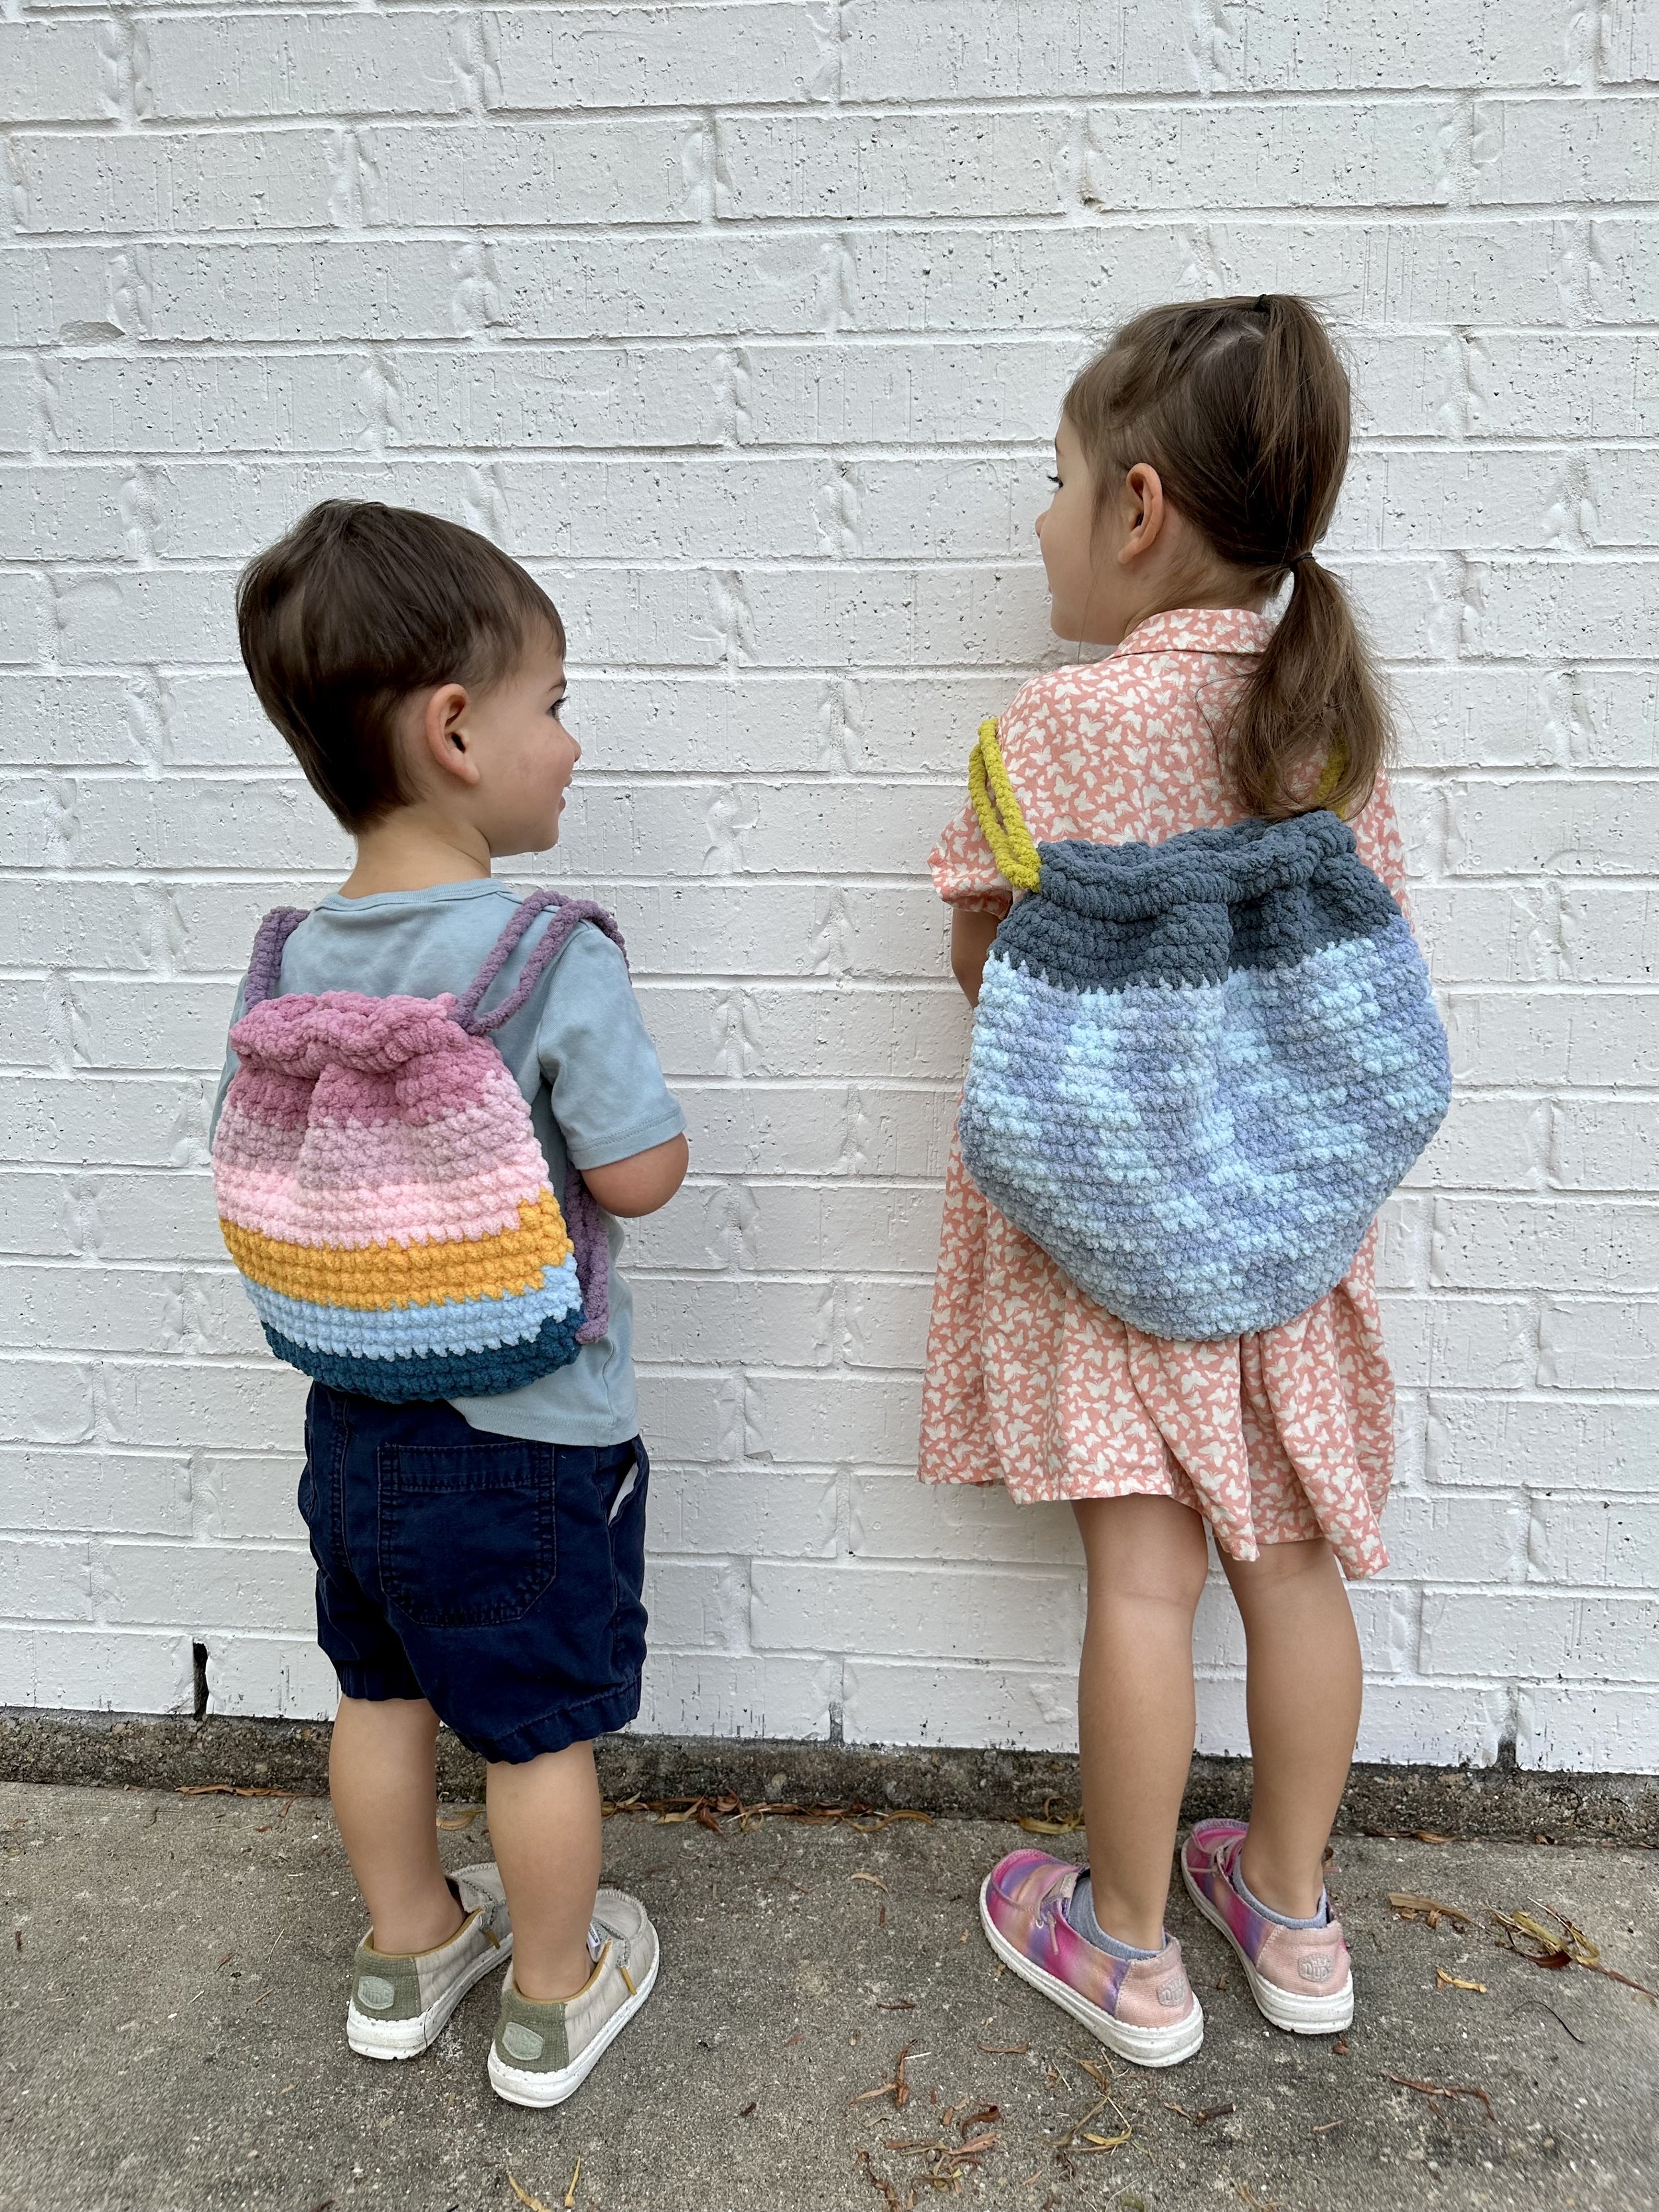
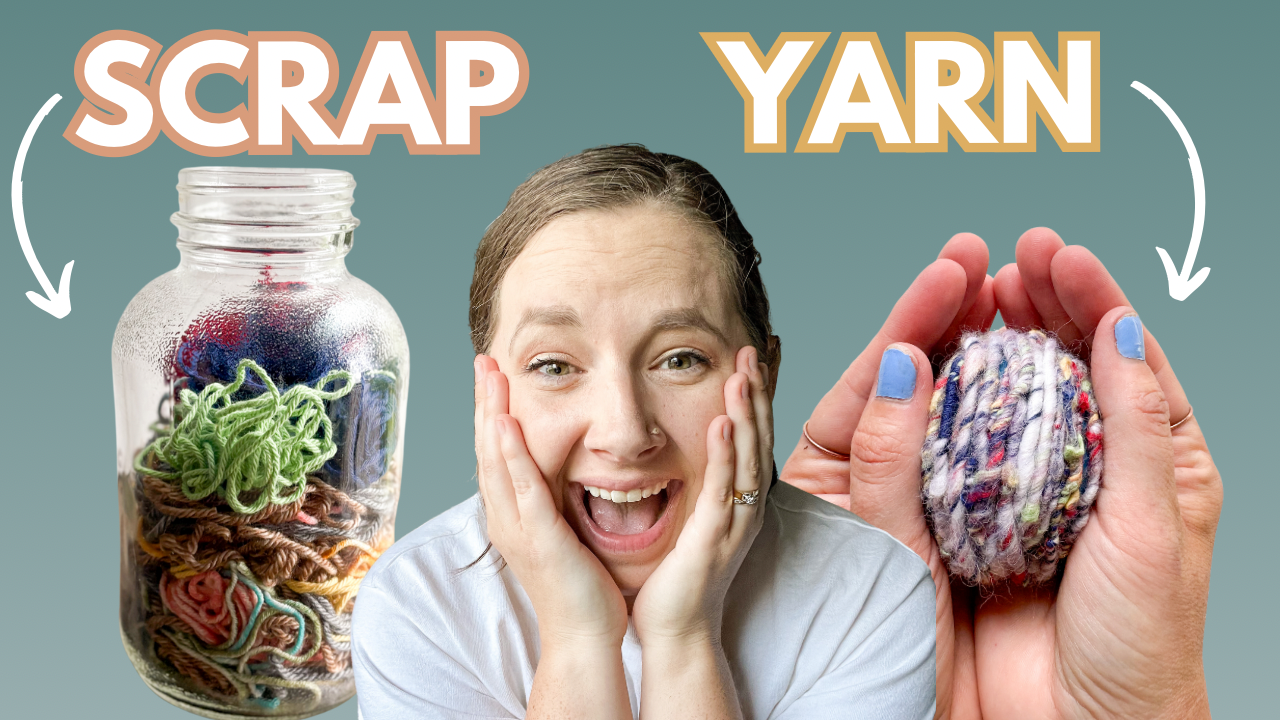
The Buddy Backpack is a simple pattern that uses basic crochet stitches, so it's excellent for beginners. The backpack is just the right size for kids to carry their toys and other small items around. Plus, it's made out of soft, durable yarn, so it can withstand all the wear and tear that comes with being a kid's favorite accessory. I love how customizable the pattern is too, you can use any color yarn to make it unique and special for your child. It's a fun and practical project that both you and your child will enjoy! Watch the video tutorial and keep scrolling for the free written instructions. You can purchase an ad-free printable PDF that includes a larger size backpack that’s perfect for older kid’s and young adults!

Supplies:
7mm hook
Bernat; Baby Blanket Dappled - Size 6 Super Bulky; [100% polyester; 220 yds/ 201m per 300g skein] (1 skein Ever After Pink (CC) & 1 skein Aquamarine (MC)used in video)
Stitch Marker
Finished Sizes:
Mini: Approximately 10 in (25 cm) diameter & depth
Full-size: Approximately 14 in (35 cm) diameter & depth (only included in the PDF)
Abbreviations
CH - Chain
HDCBLO - Half Double Crochet Back Loop Only
HDCFLO- Half Double Crochet Front Loop Only
REP - Repeat
SC - Single Crochet
SL ST - Slip Stitch
TOG - Together
Gauge Instructions
10 STS and 10 rows = 4 in (10 cm) x 4 in (10 cm)
Notes:
This pattern is written in US Terminology and Imperial Measurements
Check out the video tutorial for this pattern!
This pattern is written in crochet shorthand. Example: "SC 1" means to single crochet in the next stitch, and "SC 30" means to single crochet into the next 30 stitches.
CH 1 does NOT count as first stitch.
Backpack is worked from the bottom up in continuous rounds starting on round 2.
Place stitch marker in the first stitch of round to indicate the beginning of the round, making sure to move stitch marker up each round.
On round 1, Place stitch marker to indicate the right side. As you crochet, make sure the right side is facing out. The right side is the outside of the bag. (See Photo 1)
Round 19 will create an "envelope" where drawstrings will be placed and crocheted closed at the end.
Pattern may include affiliate links that are marked with an *. If you make a purchase using the affiliate link, I receive a small commission at no extra cost to you.
If you have any questions about the pattern, please email bagsbybento@gmail.com. You got this!
Instructions
PART ONE: DRAWSTRINGS (Make 2)
With US Size J (6mm) hook in CC
CH 110 (See Notes) or approximately 44 in (56 in)
Tie off & weave in ends
PART TWO: BACKPACK
With 7mm hook in MC
Round 1:
CH 21
SC in 2nd CH from hook
SC 18
SC 4 in last CH
SC 18 (other side of CH)
SC 3 in same CH as 1st SC
SL ST to top of 1st SC
CH 1
Place Marker (See Notes)
(44 SC)
Rounds 2-18:
SC 44
(44 SC)
Round 19: (See Notes)
HDCBLO 44
SL ST to top of 1st HDC
CH 1, SL ST to FLO of same ST
CH 1, HDCFLO in same ST
HDCFLO 43
(44 HDCBLO, 44 HDCFLO)
PART THREE: ASSEMBLY
Fold drawstrings in half
Place fold of first drawstring around the envelope created in round 26. Make sure that the ends of the drawstring are positioned on either side of the envelope. REP for second drawstring, placing fold on opposite side of envelope.
Pull ends of drawstrings through the HDCFLO on the left and right side.
PART TWO: BACKPACK (CONTINUED)
Round 27:
SL ST 44 through both layers of envelope
Tie off & weave in ends
PART THREE: ASSEMBLY (CONTINUED)
Insert one of the drawstring ends through each bottom corner of the bag between rows 1 & 2
Sew the ends of the drawstrings TOG & weave in ends