Ride the Rhythm: Crocheting the Beautiful Ocean Waves Stitch
There's something incredibly soothing about the ocean, isn't there? The gentle ebb and flow, the mesmerizing patterns of the waves – it's a feeling many of us crave. And what if you could capture that same tranquility in yarn? Well, with the Ocean Waves Stitch, you absolutely can!
This stitch is a true gem in the crochet world, creating a beautiful, undulating texture that mimics the rhythmic movement of the sea. It's surprisingly simple once you get the hang of it, and the results are stunning, perfect for blankets, scarves, dishcloths, or even a cozy throw for your beach house dreams.
Ready to dive in? Let's learn how to crochet the Ocean Waves Stitch!

Learn with My YouTube Tutorial!
Sometimes, seeing is believing! To make learning the Ocean Waves stitch even easier, I've included a video tutorial below. Watch along as the steps come to life, and you'll be a pro in no time!
What You’ll Need:
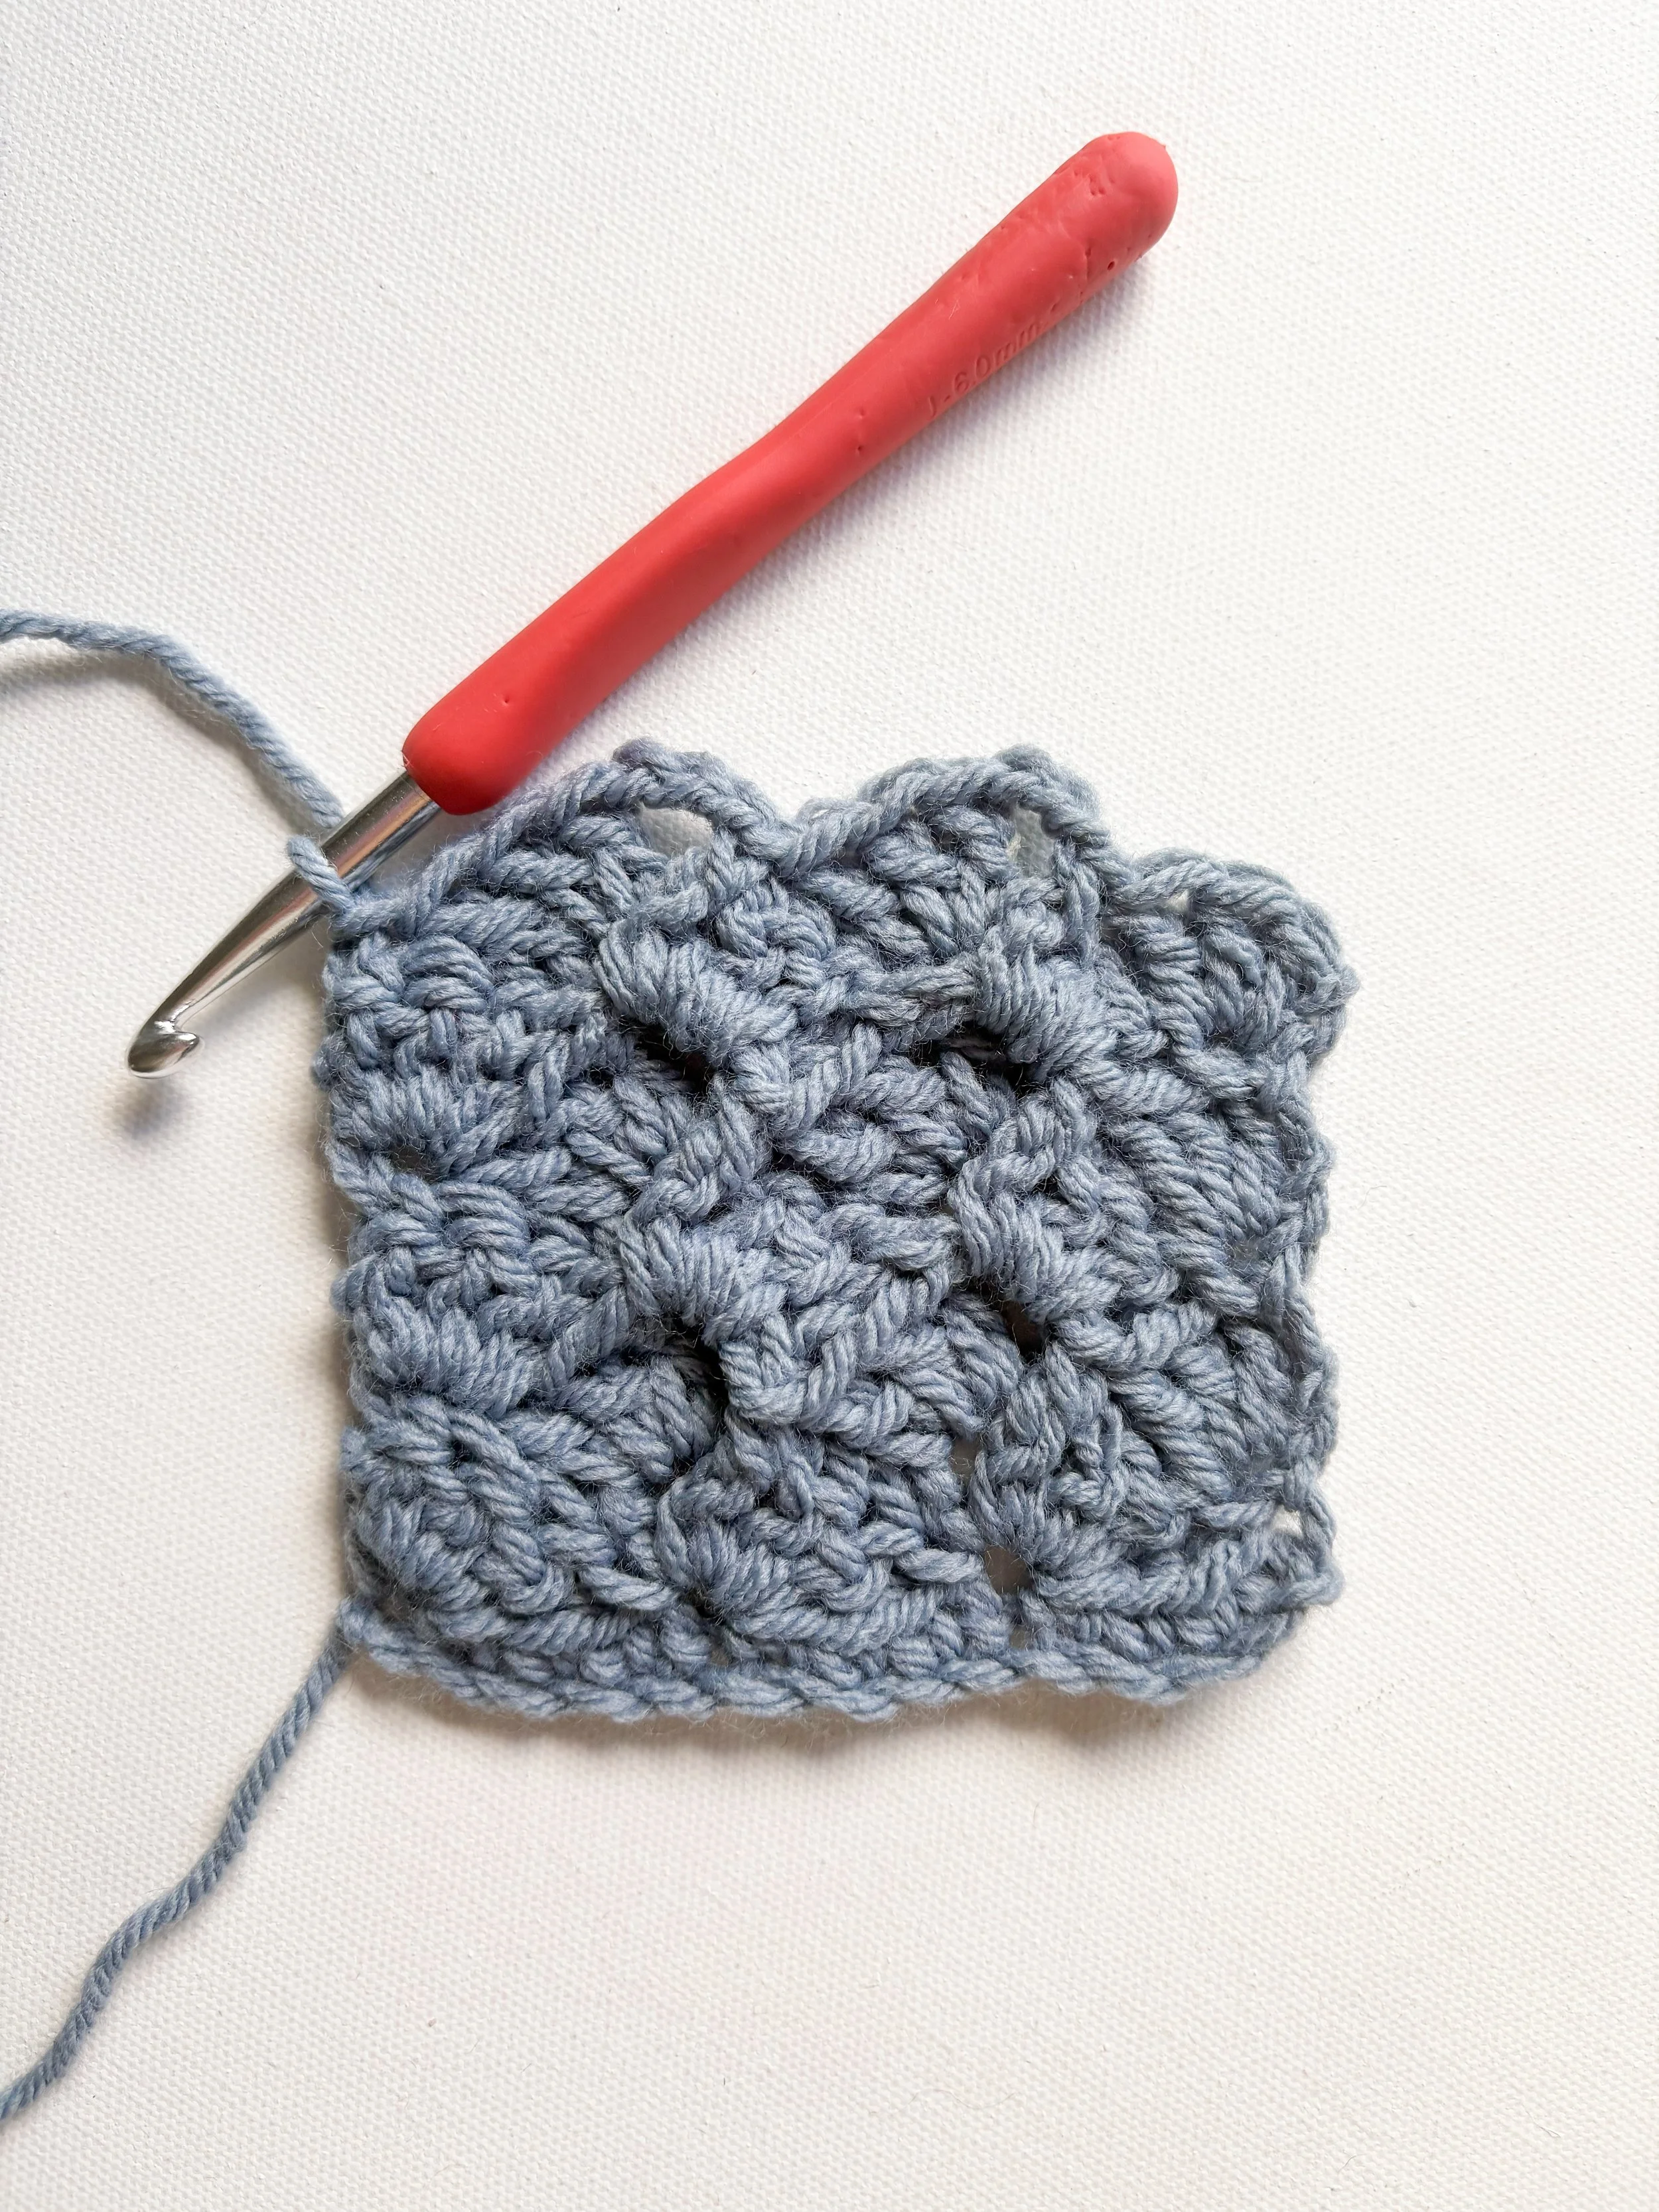
Yarn: Any yarn weight will work, but a lighter worsted or DK weight will show off the stitch definition nicely. Choose colors that evoke the ocean for an authentic feel – blues, greens, teals, and even sandy neutrals.
Crochet Hook: Select a hook size appropriate for your yarn (check the yarn label for recommendations).
Scissors
Yarn Needle
This stitch primarily uses double crochet (dc) and single crochet (sc) stitches. If you're new to these, a quick refresh might be helpful!
Abbreviations:
CH - Chain
CH-SP - Chain Space
DC - Double Crochet Stitch
FPSC - Front Post Single Crochet
REP - Repeat
SC - Single Crochet
SK - Skip
ST(S) - Stitch(es)
Special Stitches
Front Post Single Crochet (FPSC) - Insert hook from front to back around the post of the indicated st, pull up a loop, Yarn over and pull through 2 loops on hook.
Understanding the Wave—The Stitch Repeat:
The Ocean Waves Stitch is created by working a series of decreasing and increasing stitches over a set number of chains. This creates the dips and peaks that give it its wavy appearance.
The stitch repeat for this variation of the Ocean Waves Stitch is an odd number of sts + 1 for your starting chain. The "1" is for your turning chain.
Let's break down how to crochet this beautiful stitch with our new pattern.
Written Instructions:
For those who prefer written instructions, here's a breakdown of the Ocean Waves Stitch:
Here’s How to Do It:
Let’s Make Some Waves!
Chain: Start by chaining an odd number of sts + 1. The number of chains will determine the width of your project. Example: CH 23 (22 CH for the pattern + 1 CH for the turning chain.)
Side Note: the CH 1 at the end of each row does NOT count as a stitch!
Row 1 (Foundation Row):
SC 1 in the second CH from hook
SC in each CH across
CH 1 & turn.
Row 2:
DC 3 in the first ST
*SK 3 STS
(SC 1, CH 3, DC 3) in the next ST
REP from * to last 4 STS
SK 3 STS
SC 1 in the last ST
CH 1 & turn.
Row 3:
DC 3 in the first ST.
*SK 2 DC
FPSC around next DC
CH 3
DC 3 in next CH-SP
REP from * to last 3 STS
SK 2 DC
SC 1 in the last DC
CH 1 & turn.
REP Row 3 for as many rows as you desire to create your beautiful wavy fabric!
Important Notes and Tips
Tension is Key: Maintain consistent tension throughout your work. This will help your waves look even and defined.
Counting is Crucial: It's easy to get off track with this stitch if you're not counting carefully. Consider using stitch markers if you find yourself losing your place.
Experiment with Colors: This stitch looks fantastic with variegated yarns, but it also shines with stripes! Try alternating between different shades of blue and green, or even add a row of "sandy" beige for a beach effect.
Blocking: Once your project is complete, a gentle blocking can help to even out your stitches and further enhance the wave pattern.

Why You'll Love the Ocean Waves Stitch
Visually Stunning: It's a real eye-catcher and will impress anyone who sees your finished piece.
Therapeutic to Crochet: The rhythmic nature of the stitch can be very calming and meditative.
Versatile: Perfect for a wide range of projects, from garments to home decor.
Relatively Simple: Once you understand the repeat, it's an enjoyable and achievable stitch for crocheters of various skill levels.
So grab your hook and yarn, and get ready to create your own calming ocean escape, stitch by beautiful stitch. Happy crocheting!

Want to see this stitch in action?
Check out my video tutorial, where I demonstrate each stitch step-by-step.
Remember: The more you work with these stitches, the easier they'll become. Then you’ll be working up projects like the ones below!
Get Creative with Ocean Waves!
Now that you've mastered the Ocean Waves Stitch, let's explore some fun project ideas:
🌊 1. Beach-Inspired Baby Blanket
Why it works: The soft wave pattern is both cozy and visually soothing — perfect for a baby's room, especially in ocean tones like teal, aqua, and sandy beige.
Tips: Use soft DK-weight cotton or acrylic yarn for comfort and durability. You can create color blocks to resemble sea and shore.
🧣 2. Ripple Effect Scarf
Why it works: The long, narrow shape of a scarf really shows off the rise and fall of the wave pattern beautifully.
Tips: Alternate between solid and variegated yarns for a dynamic look, or do stripes to mimic ocean layers.
🏖 3. Coastal Throw Pillow Cover
Why it works: This stitch creates a textured, dimensional fabric that adds interest to home décor pieces.
Tips: Make two squares or rectangles using the stitch and sew them together over a pillow form. Add buttons or a zipper if you want a removable cover.
🏡 4. Wavy Dishcloth or Washcloth Set
Why it works: The texture of the waves gives mild scrubbing power while still being gentle on surfaces or skin.
Tips: Use 100% cotton yarn. These make great gifts or bundle items for craft fairs.
👜 5. Seaside Tote Bag
Why it works: The sturdy double/single crochet combo creates a strong fabric, and the wave design adds summery charm.
Tips: Use cotton or a cotton-blend yarn for strength. Line the bag with fabric if you want to carry heavier items.
Happy crocheting, and don't forget to share your Ocean Waves creations! I'd love to see what you make!

Free Crochet Skills Checklist
I’ve created a pathway for crocheters to learn the skills they need to make beautiful things without the added frustrations!