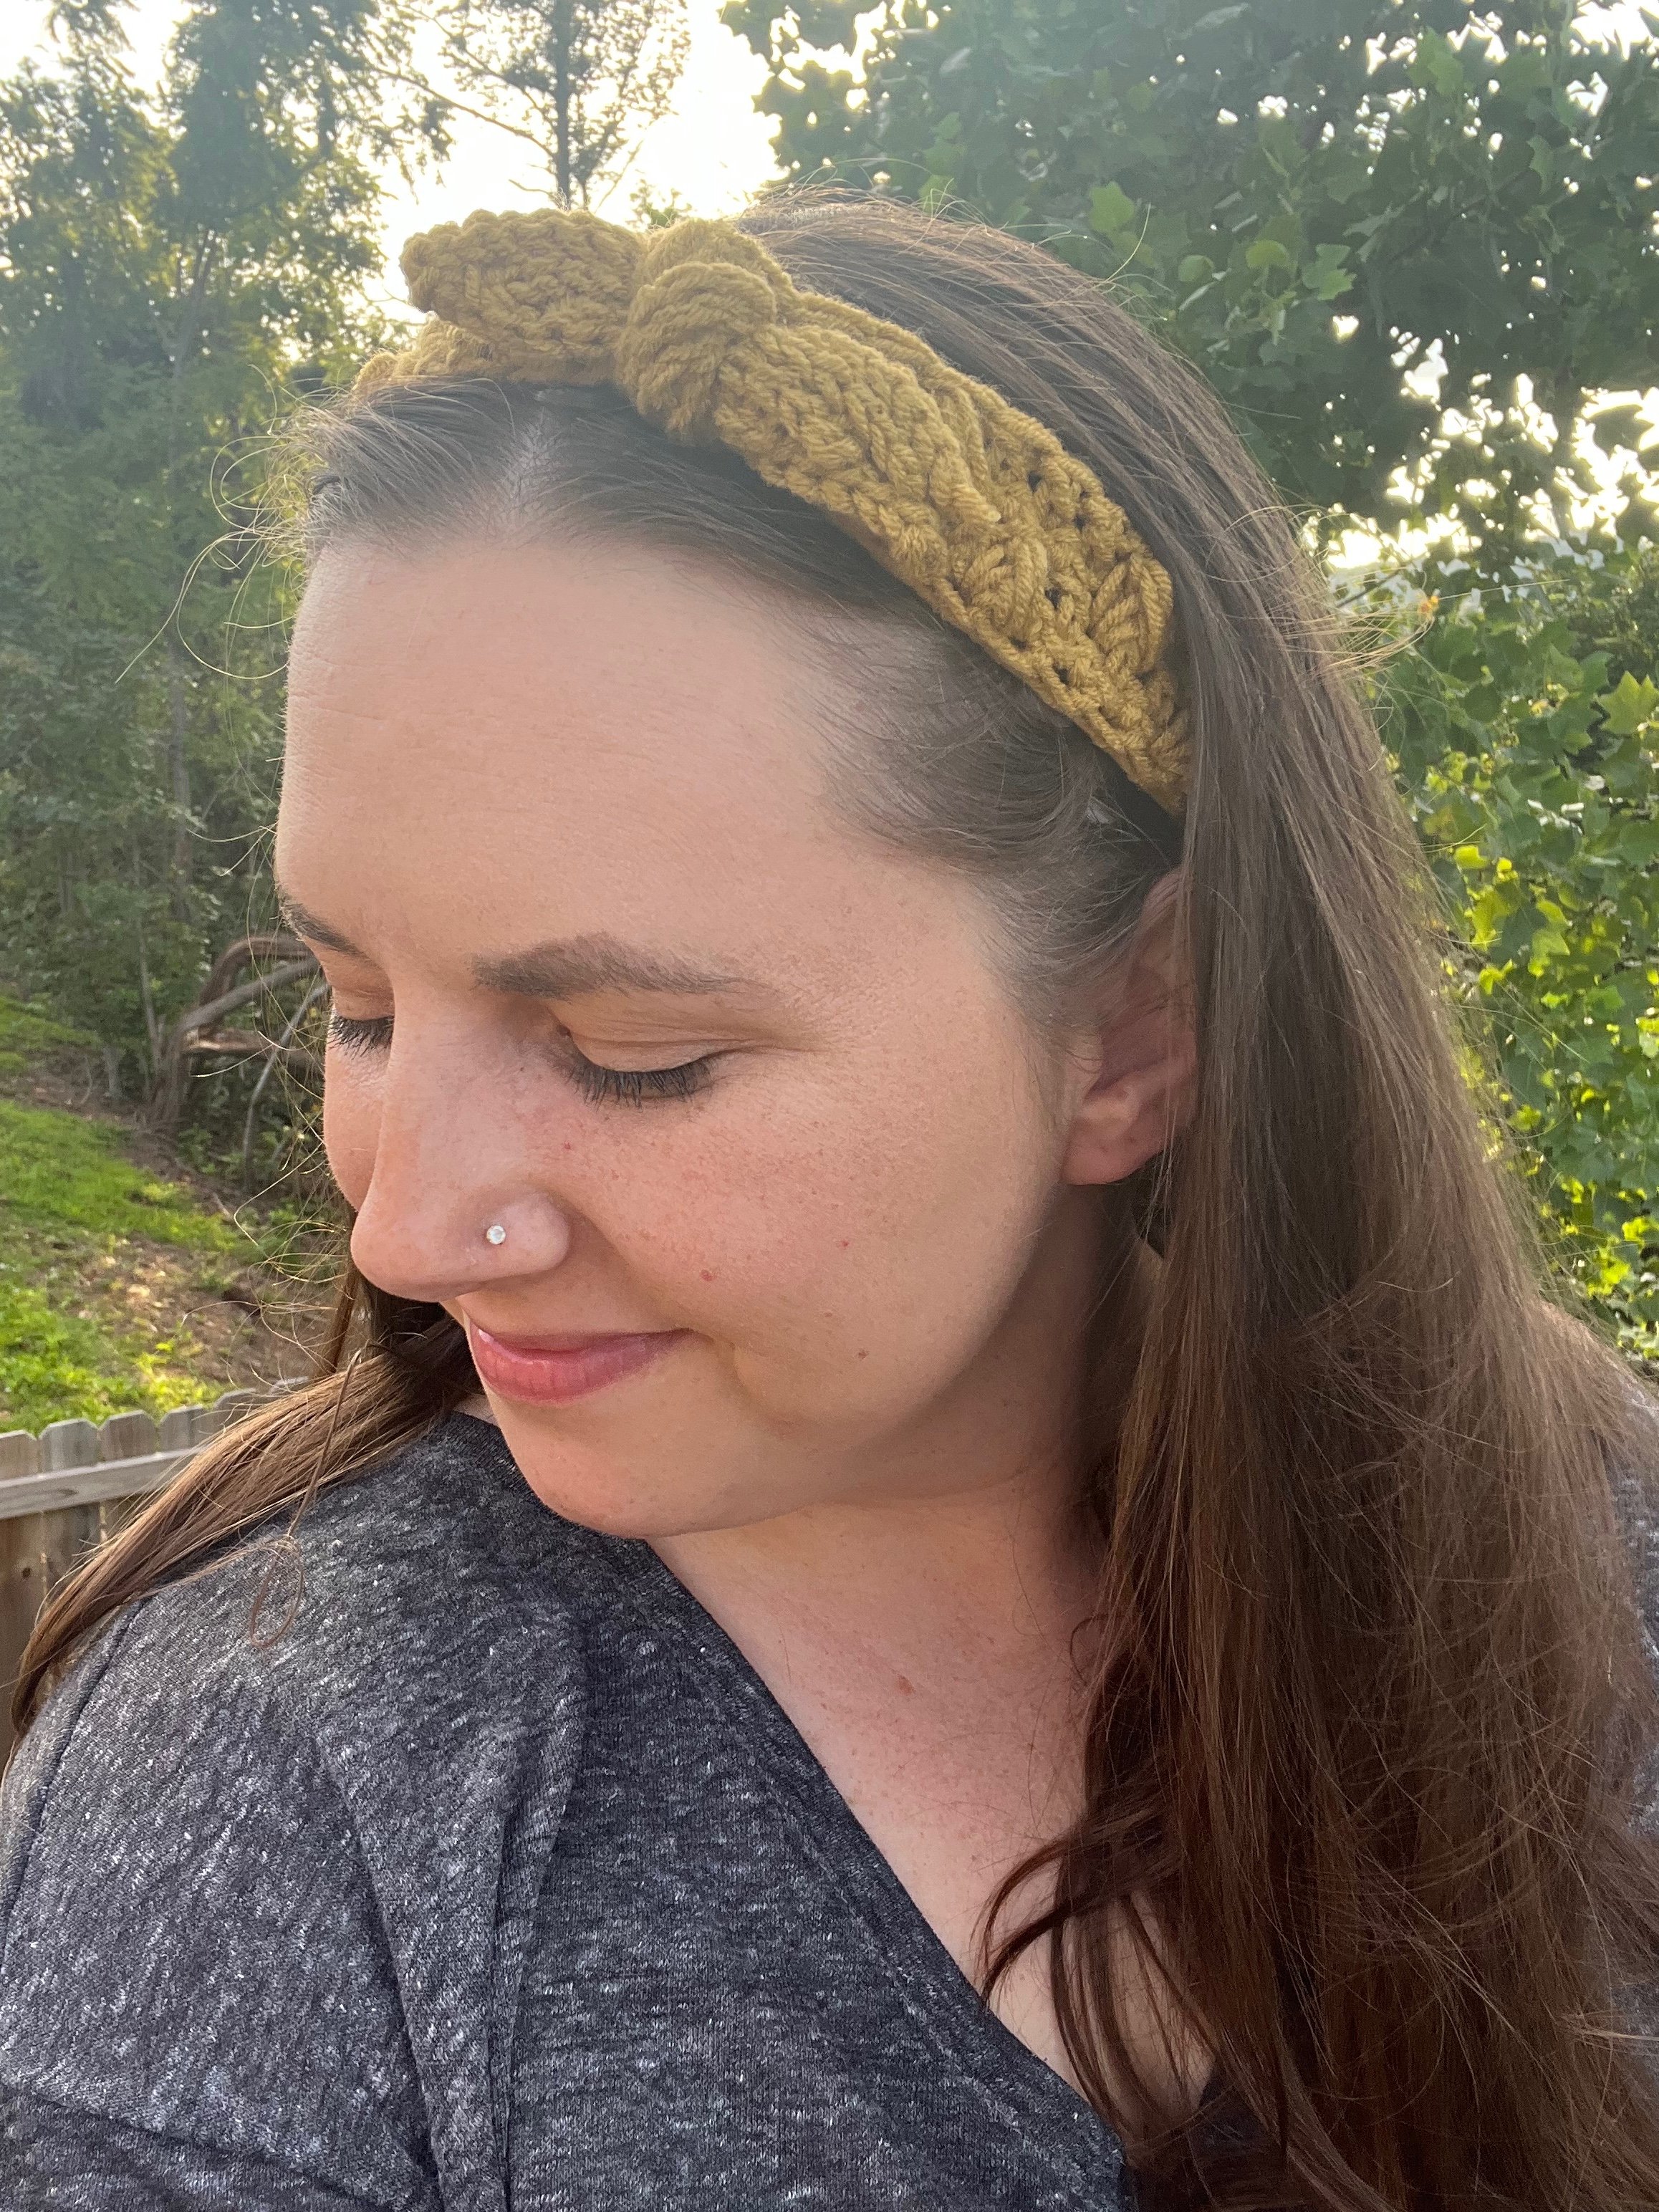
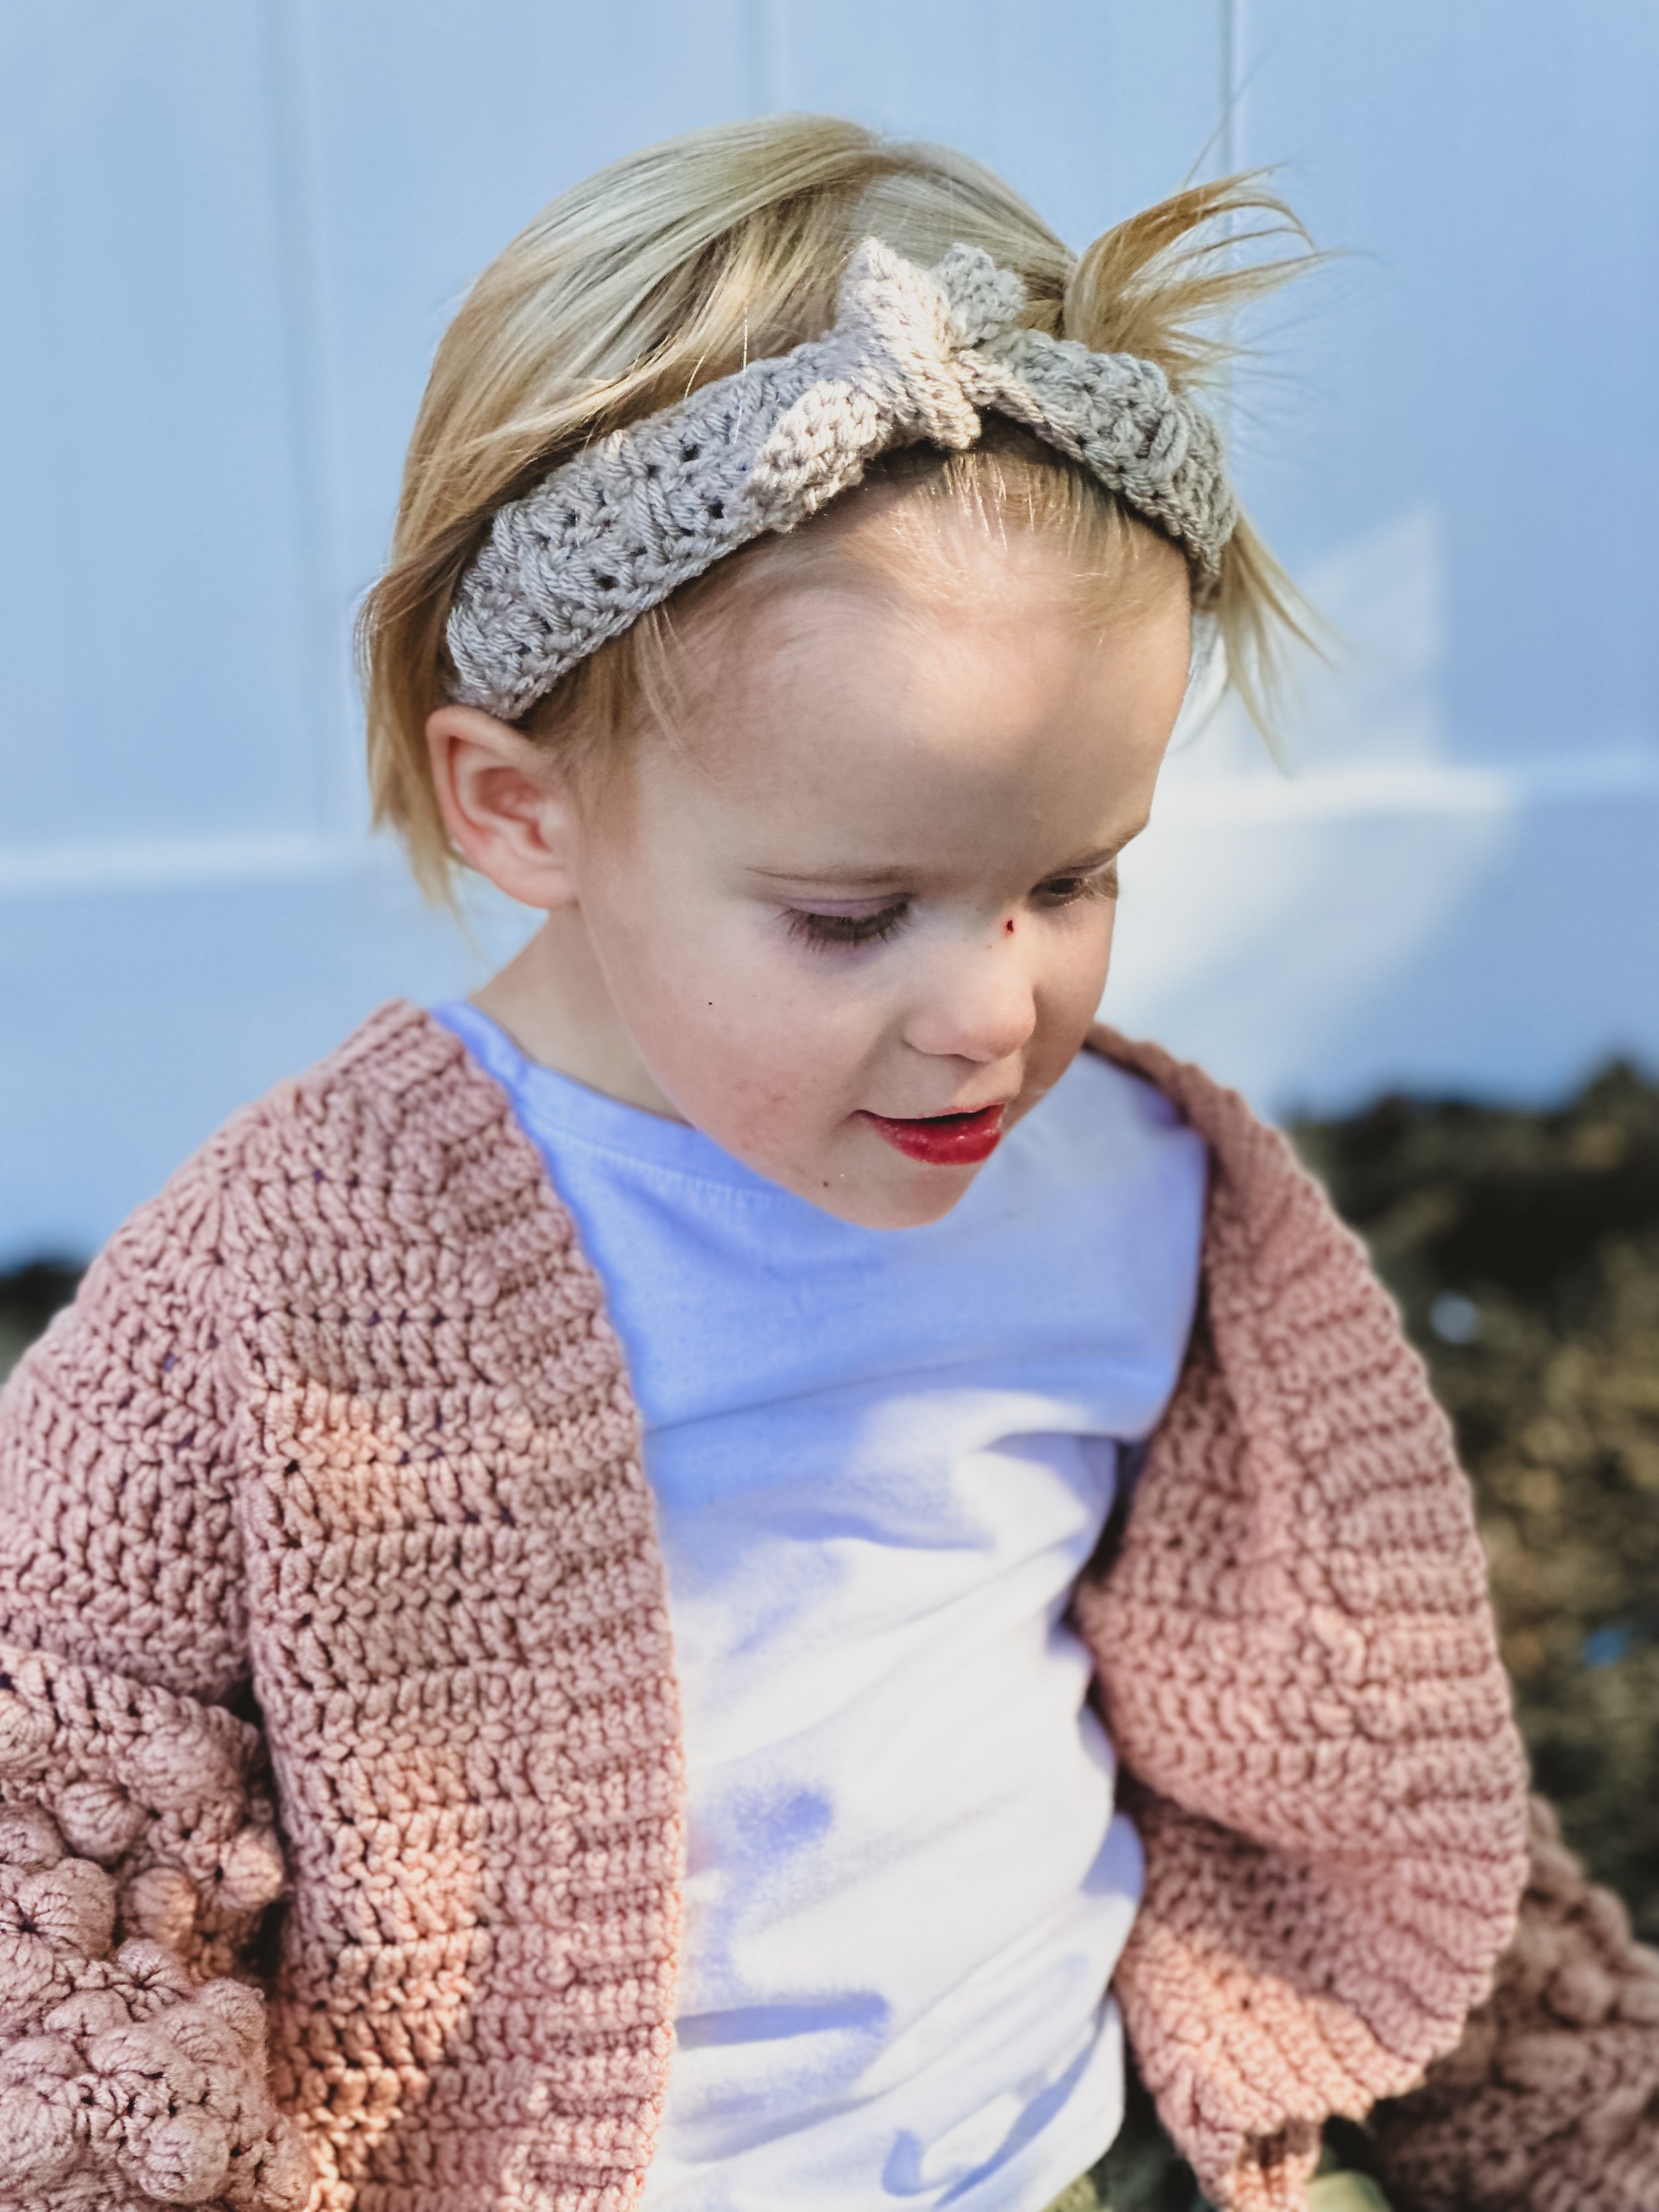
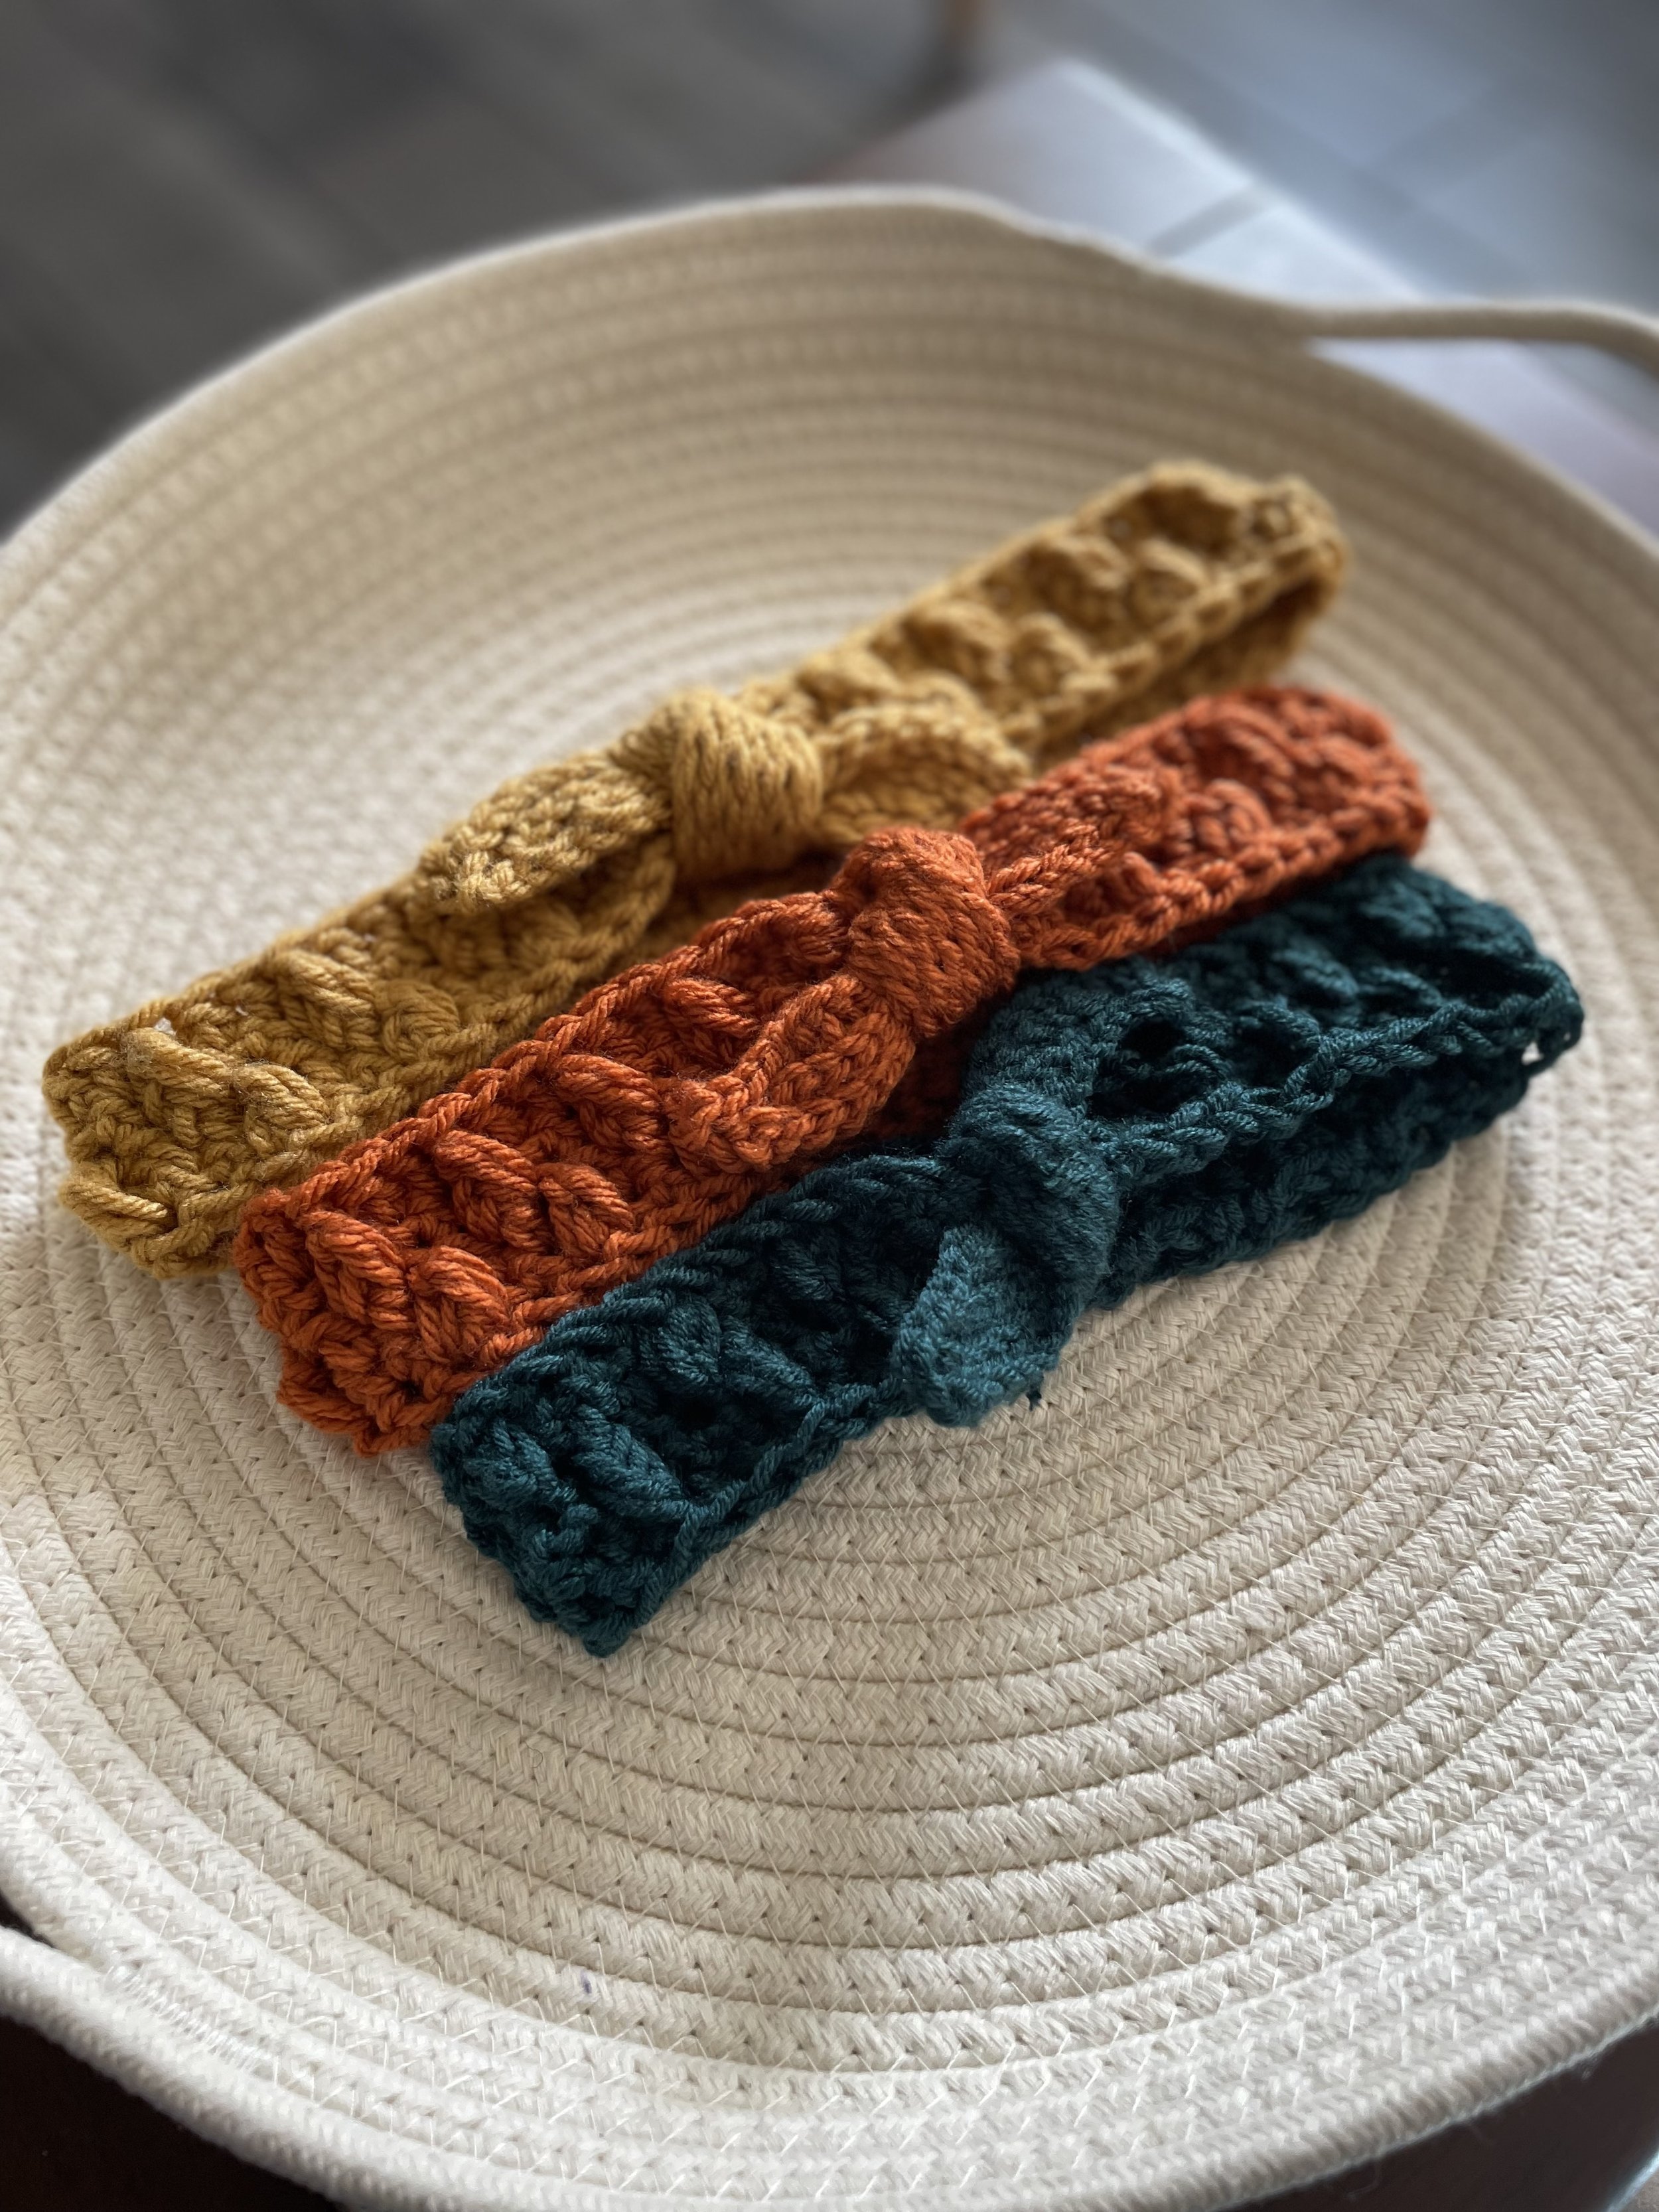
Quick & Easy Crochet Headband
Fall is here, and with it comes the perfect time for cozy, warm accessories. A crochet headband is the perfect addition to your fall wardrobe and can be a great way to keep your ears warm and your style on point. If you are looking for a quick and easy project, then a fall-inspired crochet headband is a great place to start!
Follow the video tutorial below and grab the PDF pattern for access to six different sizes! Keep scrolling for the free pattern (includes the smallest size).

Supplies
Hook:
*US Size 7/4 mm hook
Yarn:
Finished Sizes
Newborn(Free pattern below), 0-6 months, 6-12 Months, 1-3 Years, 3-12 Years, Teen/Adult (All other sizes in PDF)
Abbreviations
CH - Chain
FL- Falling Leaves Stitch
YO (yarn over), insert hook in ST 2 rows below, pull up a loop (3 loops on hook), YO, insert hook into same ST, pull up a loop (5 loops on hook), YO, pull through 4 loops (2 loops on hook), YO, pull through remaining 2 loops.
REP - Repeat
SC- Single Crochet
SL ST - Slip Stitch
SP - Space
ST(S) - Stitch(es)
Gauge
16 DC and 8 rows = 4 in (10 cm) x 4 in (10 cm)
Notes
This pattern is written in US Terminology and Imperial Measurements
This pattern is written in crochet shorthand. Example: "SC 1" means to single crochet in the next stitch and "SC 30" means to single crochet into the next 30 stitches
Pattern is written for the smallest size with changes for larger sizes in parenthesis: newborn (0-6 months, 6-12 months, 1-3 years, 3-12 years, Teen/Adult) Example: “SC 39 (42, 45, 51, 54)
If you prefer a snug headband, size down to account for stretching.
CH 1 does not count as a stitch
CH 2 does not count as a stitch
This pattern uses repeats. Example: “(DC 2, FL 1) REP 12 times” means to double crochet in the next 2 stitches and falling leaves in the 3rd stitch, then repeat that pattern 12 times until the end of the row.
In part two, the bow is created by using short rows (intentionally leaving unfinished STS at the end of rows). Rows 2-7 leave 2 STS unfinished at the end of each row.
Pattern may include affiliate links that are marked with an *. If you make a purchase using the affiliate link, I receive a small commission at no extra cost to you.
If you have any questions about the pattern, please email bagsbybento@gmail.com. You've got this!
Instructions
PART ONE: BAND
Row 1:
Foundation SC 39 or
CH 40, SC in 2nd CH from hook & each CH across
CH 1 (see Notes), turn
(39 SC)
Row 2:
SC across
CH 2 (see Notes), turn
(39 SC)
Row 3:
(DC 2, FL 1) REP 13 times
CH 1, turn
(26 DC; 13 FL)
Row 4:
REP Row 2
(39 SC)
Row 5: (See notes)
(FL 1, DC 2) REP 13 times
(26 DC; 13 FL)
Tie off leaving a 6 in (15 cm) tail & sew ends of headband together. Pull yarn tightly to cinch the center
PART TWO: BOW
Row 1:
CH 31
SL ST BLO in 2nd CH from hook
SL ST BLO 29
CH 1, turn
(30 SL ST BLO)
Make sure to skip the last two
STS of each Row. (see Notes)
Row 2:
SL ST BLO 28 (See photo 1)
CH 1, turn
(28 SL ST BLO)
Row 3:
SL ST BLO 26 (See photo 2)
CH 1, turn
(26 SL ST BLO)
Row 4:
SL ST BLO 24
CH 1, turn
(24 SL ST BLO)
Row 5:
SL ST BLO 22
CH 1, turn
(22 SL ST BLO)
Row 6:
SL ST BLO 20
CH 1, turn
(20 SL ST BLO)
Row 7:
SL ST BLO 18 (See photo 3)
CH 1, turn
(18 SL ST BLO)
Row 8:
SL ST BLO 24 (making sure to SL ST into the skipped STS)
CH 1, turn
(24 SL ST BLO)
Row 9:
SL ST BLO 30 (making sure to SL ST into the skipped STS)
CH 1, turn
Tie off & weave in ends
(30 SL ST BLO)
Tie bow in a knot around the center of band.